Pageviews past week

Powered by Blogger.

Wednesday, June 6, 2012

Deck 'Refresh'

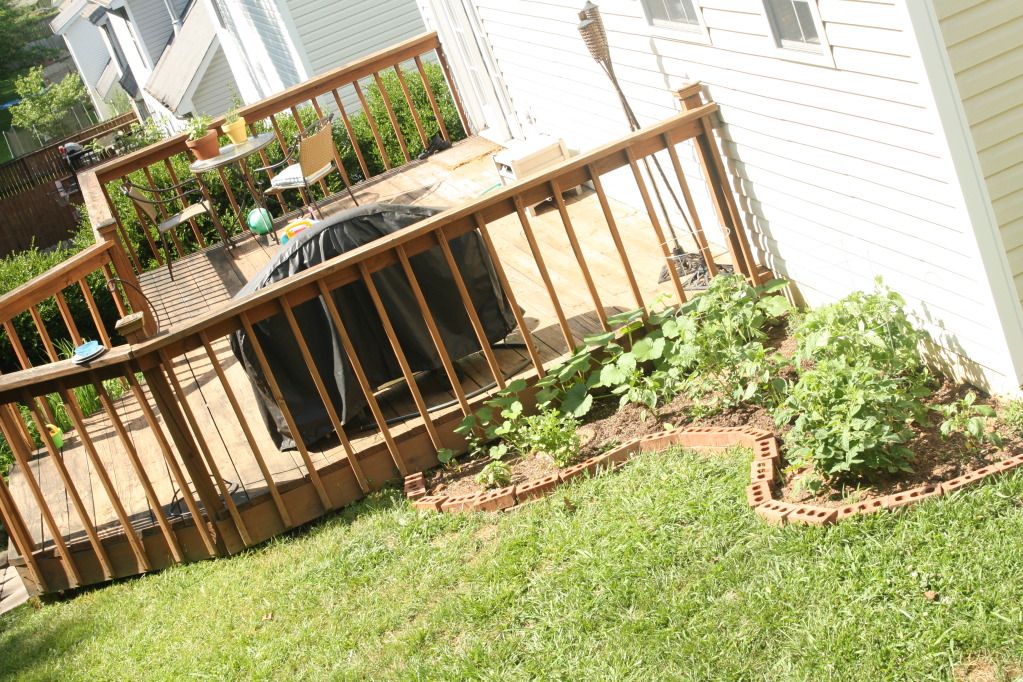
It has been way too long since I updated this blog, which I'm going to blame on . I'm now selling custom nursing covers, camera strap covers, boppy pillow covers AND little girl dresses, which will soon include some mommy and me sets. You should check it out. Really. Anyway, I found a blog that I'm loving, . Its a lovely mix of DIY projects, recipes ( check out the bananas foster bread spread, delicious!), and her decorating posts. It has inspired me to do this post on our deck 'refresh'. I say refresh, because I wouldn't classify it as a renovation. Now onto the good stuff. Here is the deck, looking the way it has for the past 8
months.
 
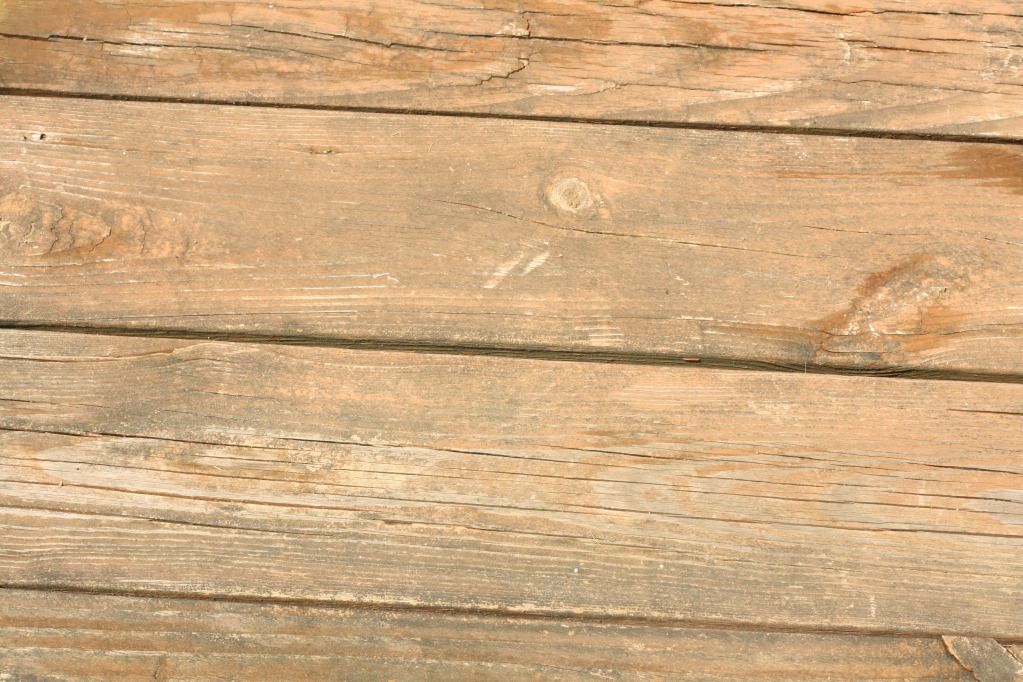
Andrew decided to scrub and stain it. It was looking pretty rough and dirty.   I cant remember what brand we used, but we used a washcloth to apply a fairly cheap eco friendly deck cleaner. (My vegetables are growing along the deck).Then we used a heavy duty brush, and scrubbed it. All.
Aye Aye Aye.
  

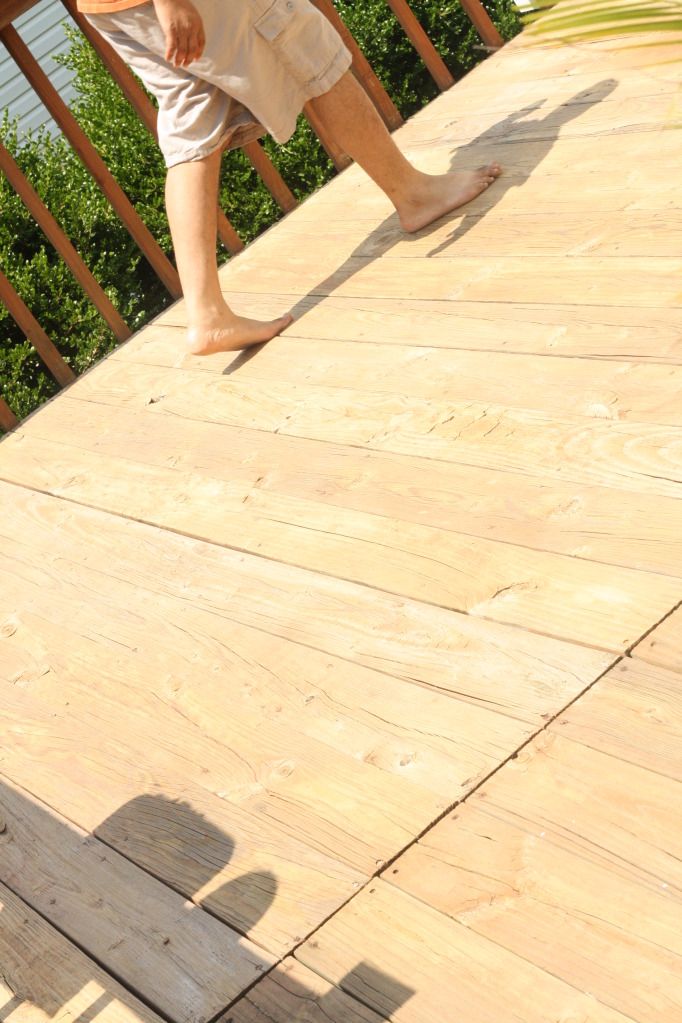
Here it is after the scrub:

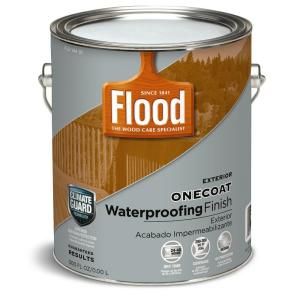
 We chose this stain, as most required 2 coats and this one only required one, I highly recommend it!
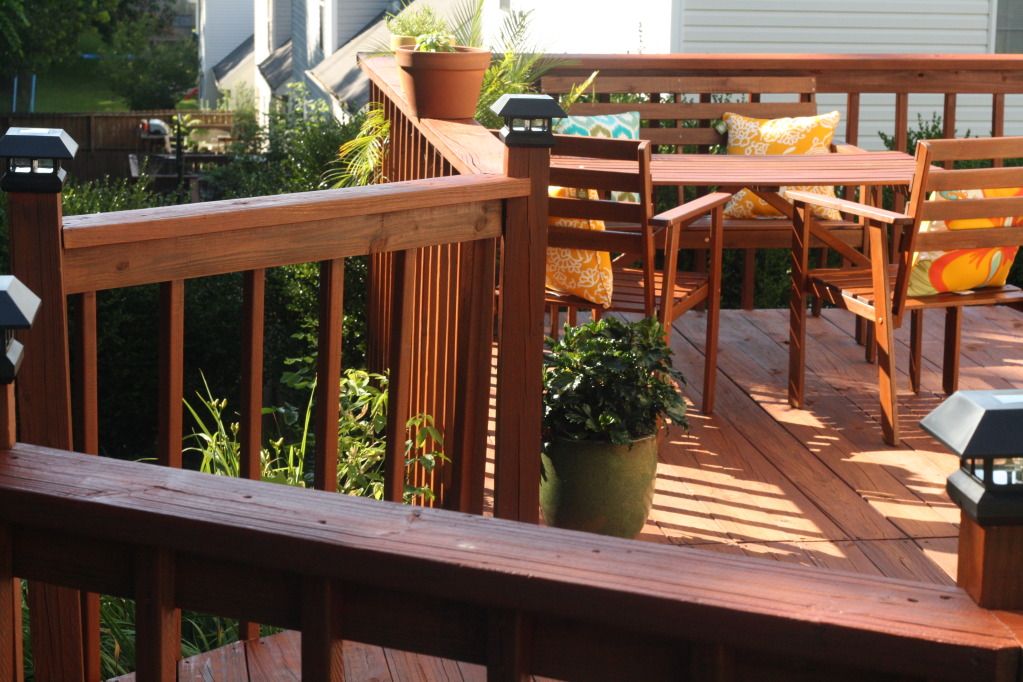
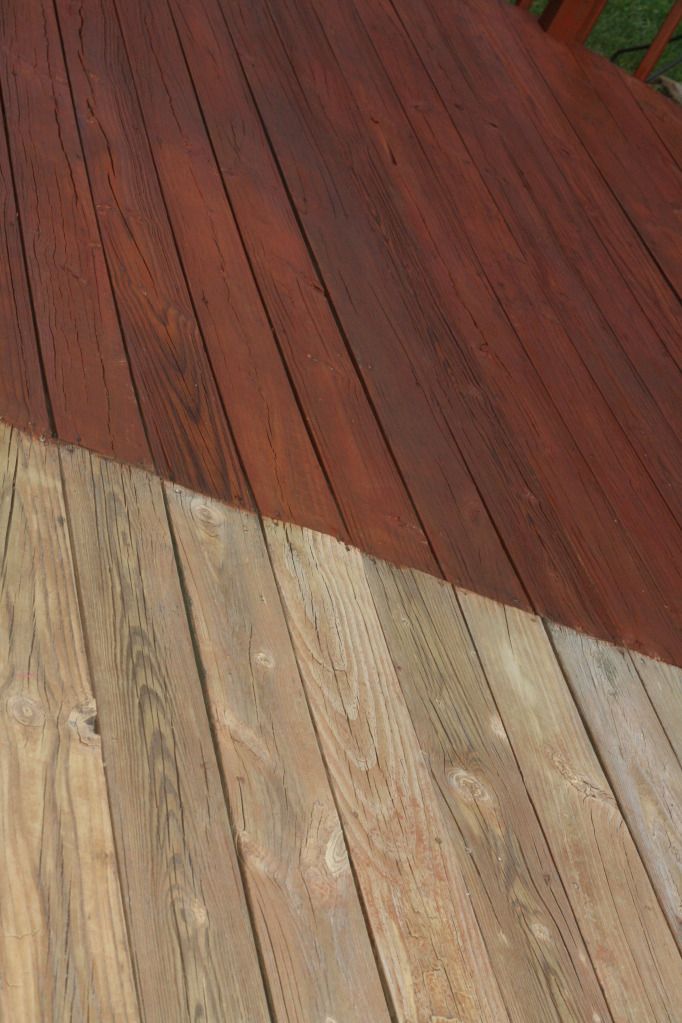
 We stained all of the rails first , and then did the actual deck last. We applied a fairly thin layer, using regular brushes. Here she is halfway stained. Quite a difference.


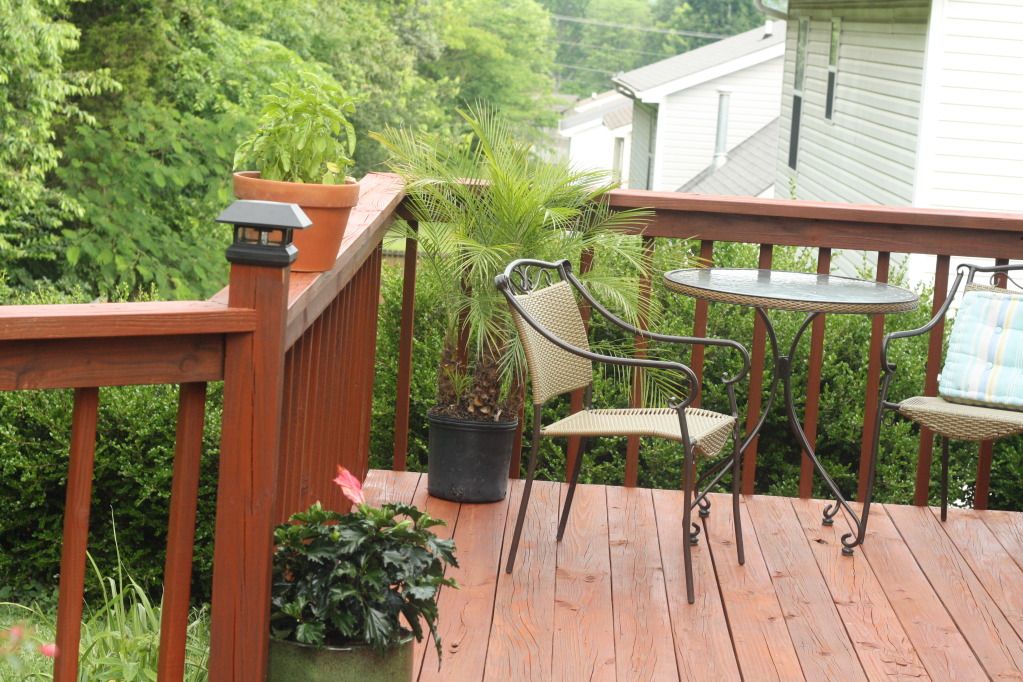
We also replaced the post caps, we found these solar caps at Lowes for about $4.88 each. Super pretty once it gets dark! We still had the same table on the porch this week. We got some plants : The pygmey palm is my favorite, a steal at home depot for $9. The large hibiscus was about $10, we already had the pot. Looking better...
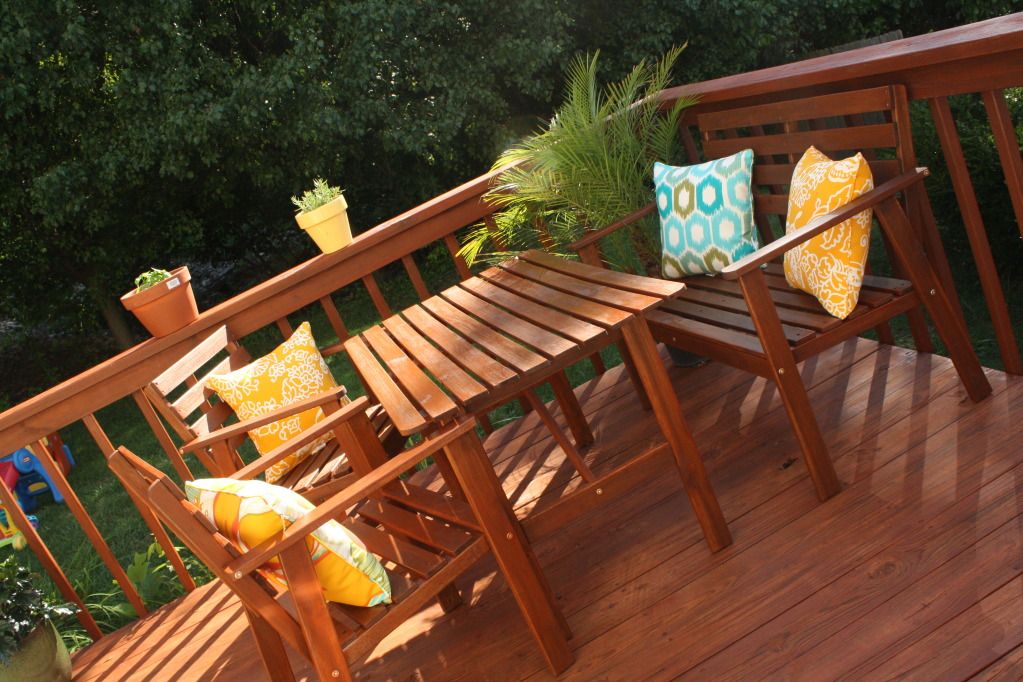
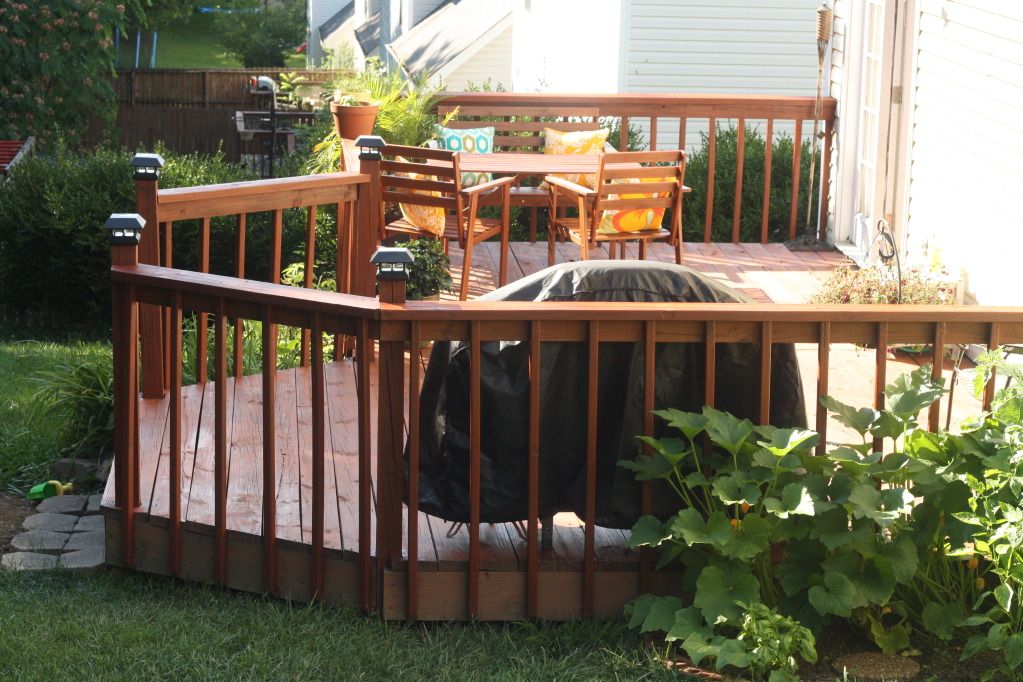
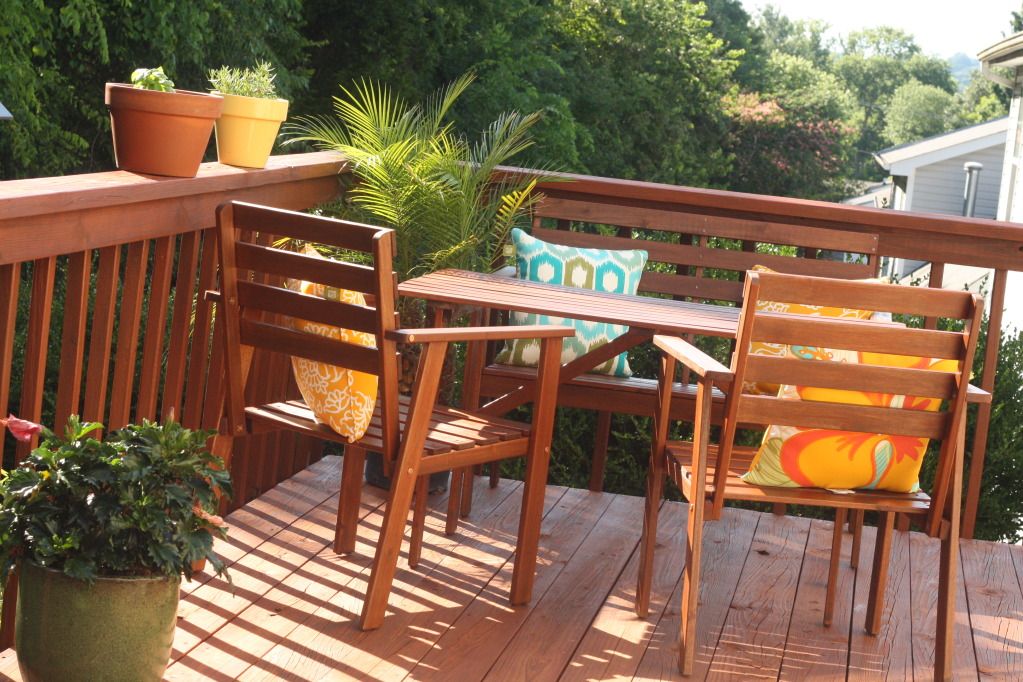
And then some long lost friends made a trip to Atlanta with us, and bought us the table,bench,and 2 chairs that I was pining over at Ikea. 4 adults, a toddler, and the giant box riding back to Knoxville was interesting. The table looked like this http://www.ikea.com/us/en/catalog/products/90055696/ . We used our leftover redwood stain, and stained the table and chairs as soon as we got a chance. The wood was treated , but not really waterproofed, So we stained it the moment we got a chance. We are almost done, but I need pillows! So I searched, and couldnt find 4 pillows that I liked for less than $60. Ouch. So I decided I'd buy some cotton calico from hobby lobby, make my own pillows in the prints I want, and then scotch guard them. Great idea, it would work, but oh so time consuming.

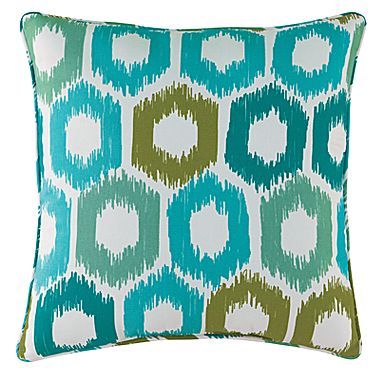
 Then, I happened to be walking throuht JC Penney yesterday , when I saw a lovely beauty, an Ikat pillow, on clearance for $7!! But only one. I quickly googled it, and saw they also had other prints, so I drove over to the JCP on the other side of town, and they had the other prints that I liked, for $7 each also! I was thrilled! For now, my deck is complete. Ya know, til I get that new grill... ;-) . . . Here are the pillows, you may be able to find them for $7 in store right now, but the online price of 2 for $25   is also a steal!



Friday, April 6, 2012

Winner of Giveaway

The rafflecopter generated winner of our nursing cover giveaway is .... Amberlie Owens! Congratulations!

Thursday, March 29, 2012

Thirsties Duo All In One

Here is my picture review for the New Thirsties Duo All In One. I have the size 2.
Inside, the soaker is sewn down on the sides only.
Here is the Thirsties Duo Pocket size 2 (Left, shown in cool stripes) next to the New Thirsties Duo All in One (Right, size 2 in Blackbird). They are both open to their largest settings.
Side view on largest setting.
Side by side on smallest setting.
Side view on smallest setting.
All in one on the left, pocket on the right. Inside.
Open side by side, duo pocket is much longer.
The Duo All in One has a much lower rise.
The pocket is open on the back and the front to create a 'tunnel' for adding extra inserts
Front opening.
Side by side with a Bumgenius 4.0. The rises are very similar.
Slightly slimmer through the middle than the BG 4.0.
The snaps are aligned vertically.
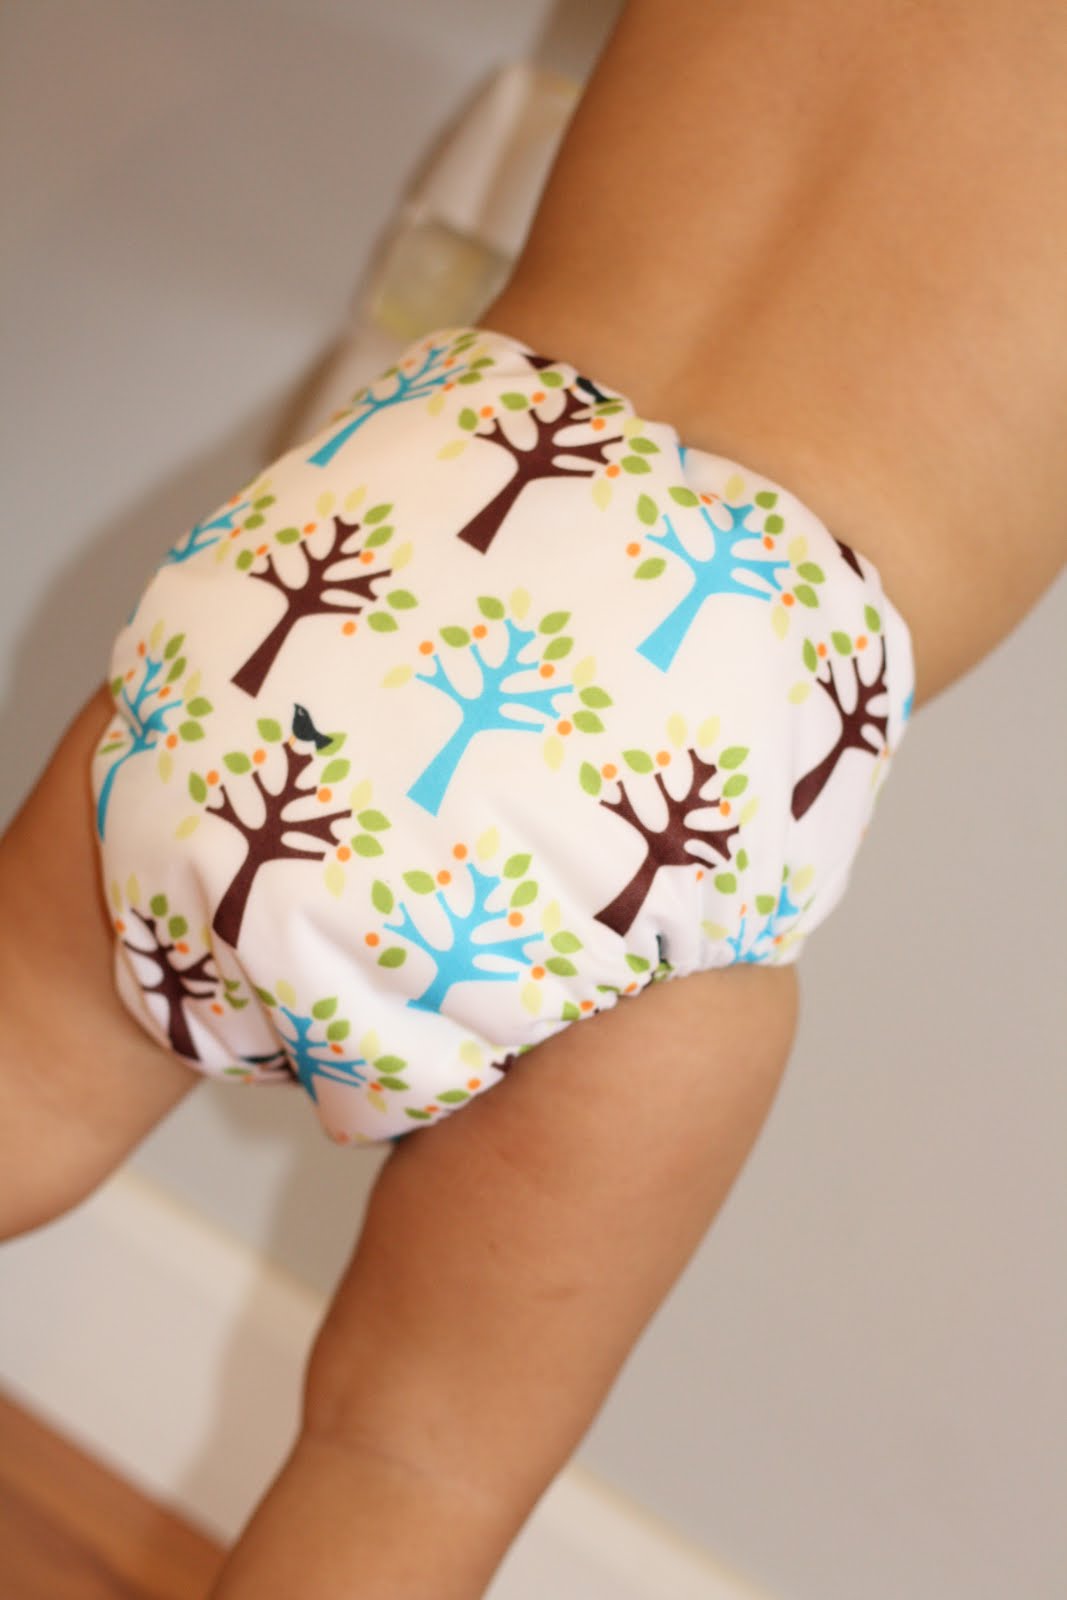
Back view of the Duo All in One.
The Duo all in one on my 19 month old 21 pounder.
I will note, this diaper doesnt have a PUL flap at the front near the stomach, so as you can see, if it isn't sized and positioned right then the fleece inner may poke out of the top, which could cause wicking.
Here I repositioned the snaps and it alleviated some of the problems with the fleece sticking out the top.
Here he is in the Duo Pocket for a comparison of the different fits. The All in One definitely seems to have less of the boxy, bulky fit that the duo pocket has.
The front of a Duo Pocket.
All in all, I think it is a good diaper for the price, especially if you can get it on sale. The lower rise will be good for older babies on the smaller side. It is sized more like a regular one size diaper as far as the rise. It is bigger through the waist, as my child usually has 4 or 5 sets of unused snaps across the middle of a BG 4.0 or a rumparooz, whereas only 2 with this All in One. It doesnt have the gussets that many thirsties products have, however the leg elastic looks to be very similar to the way the BG 4.0s are sewn, which is great for us. I would love to see some stretchy tabs and a flap at the front to prevent wicking!
Disclaimer: Products were bought by me and reviewed by me. I was not endorsed in any way for this review.

Nursing Cover Giveaway!

We are hosting our first Giveaway!
Enter the form below for a chance to win a Domestic Mother Nursing Cover!
We offer gorgeous Nursing Covers, Nursing Pillow Covers, and NOW Camera Strap Covers!
Visit DomesticMother.

The Nursing Cover up for grabs features 100% cotton, boning in the neckline to view baby while nursing, adjustable neck with 2 metal 'D' rings, 2 fabric flower accents, and the matching carrying bag with metal 'D' ring.


Domestic Mother on Facebook!

Domestic Mother is now on Facebook, creating custom and/or ready to ship Nursing Covers, Nursing Pillow Covers, and NEW Camera Strap Covers!
Here are pictures of some of our Camera Strap Covers, Nursing Covers and Nursing Pillow Covers (fits boppy).  
Custom Orders Are Available!
View Fabrics Here


A giveaway is coming soon!!

Tuesday, January 24, 2012

Pumpkin Cupcakes with Cream Cheese Frosting

I've had multiple people ask how to make these, So here you go!


Pumpkin cupcakes:

  • 2 1/4 cups all-purpose flour
  • 1 teaspoon ground cinnamon
  • 1/2 teaspoon ground nutmeg
  • 1/2 teaspoon salt
  • 1 tablespoon baking powder
  • 1/2 teaspoon baking soda
  • 1/2 cup butter, softened
  • 1 cup white sugar
  • 1/3 cup brown sugar
  • 2 eggs, room temperature
  • 3/4 cup milk
  • 1 cup pumpkin puree
  • 1/2 cup finely shopped pecans/walnuts
  •  
  • Cream Cheese Frosting
  • 1 (8 ounce) package cream cheese, softened
  • 1/4 cup butter, softened
  • 3 cups confectioners' sugar
  • 1 teaspoon vanilla extract

Directions

  1. Preheat an oven to 375 degrees F . Grease 24 muffin cups, or line with paper muffin liners. Sift together the flour, 1 teaspoon cinnamon, nutmeg, salt, baking powder, and baking soda; set aside.
  2. Beat 1/2 cup of butter, the white sugar, and brown sugar with an electric mixer in a large bowl until light and fluffy. The mixture should be noticeably lighter in color. Add the room-temperature eggs one at a time, allowing each egg to blend into the butter mixture before adding the next. Stir in the milk and pumpkin puree after the last egg. Stir in the flour mixture and nuts, mixing until just incorporated. Pour the batter into the prepared muffin cups.
  3. Bake in the preheated oven until golden and the tops spring back when lightly pressed, about 20 minutes. Do NOT overbake!!  Remove as soon a toothpick comes out clean.  Cool in the pans for 5 minutes before removing to cool completely on a wire rack.
  4. While the cupcakes are cooling, make the frosting by beating the cream cheese and 1/4 butter with an electric mixer in a bowl until smooth. Beat in the confectioners' sugar a little at a time until incorporated. Add the vanilla extract; beat until fluffy. Once the cupcakes are cool, frost with the cream cheese icing.                                                        ***For party cupcakes, I double the recipe for icing and use a 3M piping tip to pipe the frosting on. ***